Wednesday, February 19, 2014

Love Pink Galaxy Nail Art Tutorial

Please spare me, this is my first tutorial. I made some mistakes, and my lighting wasn't ideal, but I hope you understand what I'm conveying. Many people commented on my giveaway post that they wanted nail art tutorials for beginners, so please leave me feedback!


Love Pink Galaxy Nail Art Tutorial

The great thing about galaxy nails is that they are foolproof. You cannot mess them up! At first, they look like a mess, but as you add layers, the galaxy begins to come to life. Valentine's Day may have come and gone, but you are looking at a concept here---you can do this with green and orange for St. Patrick's Day, or do any monochrome version depending on your mood. 

All you need is your nail polish colors, a makeup sponge (or pieces, you can see I rip pieces off of mine to be more economical), and a piece of foil or wax paper (do NOT use a paper plate or anything that can absorb nail polish).

Choose a color scheme

Materials Needed


First, begin with 1-2 coats of your favorite white (mine is OPI My Boyfriend Scales Wall). Allow to dry for 10-15 minutes.
Love Pink Galaxy Nail Art Tutorial


Using the darkest color (reverse of a "normal" galaxy mani), sponge on a nebula. I did my curvy, but you can choose to do it in a corner, the side, anything!
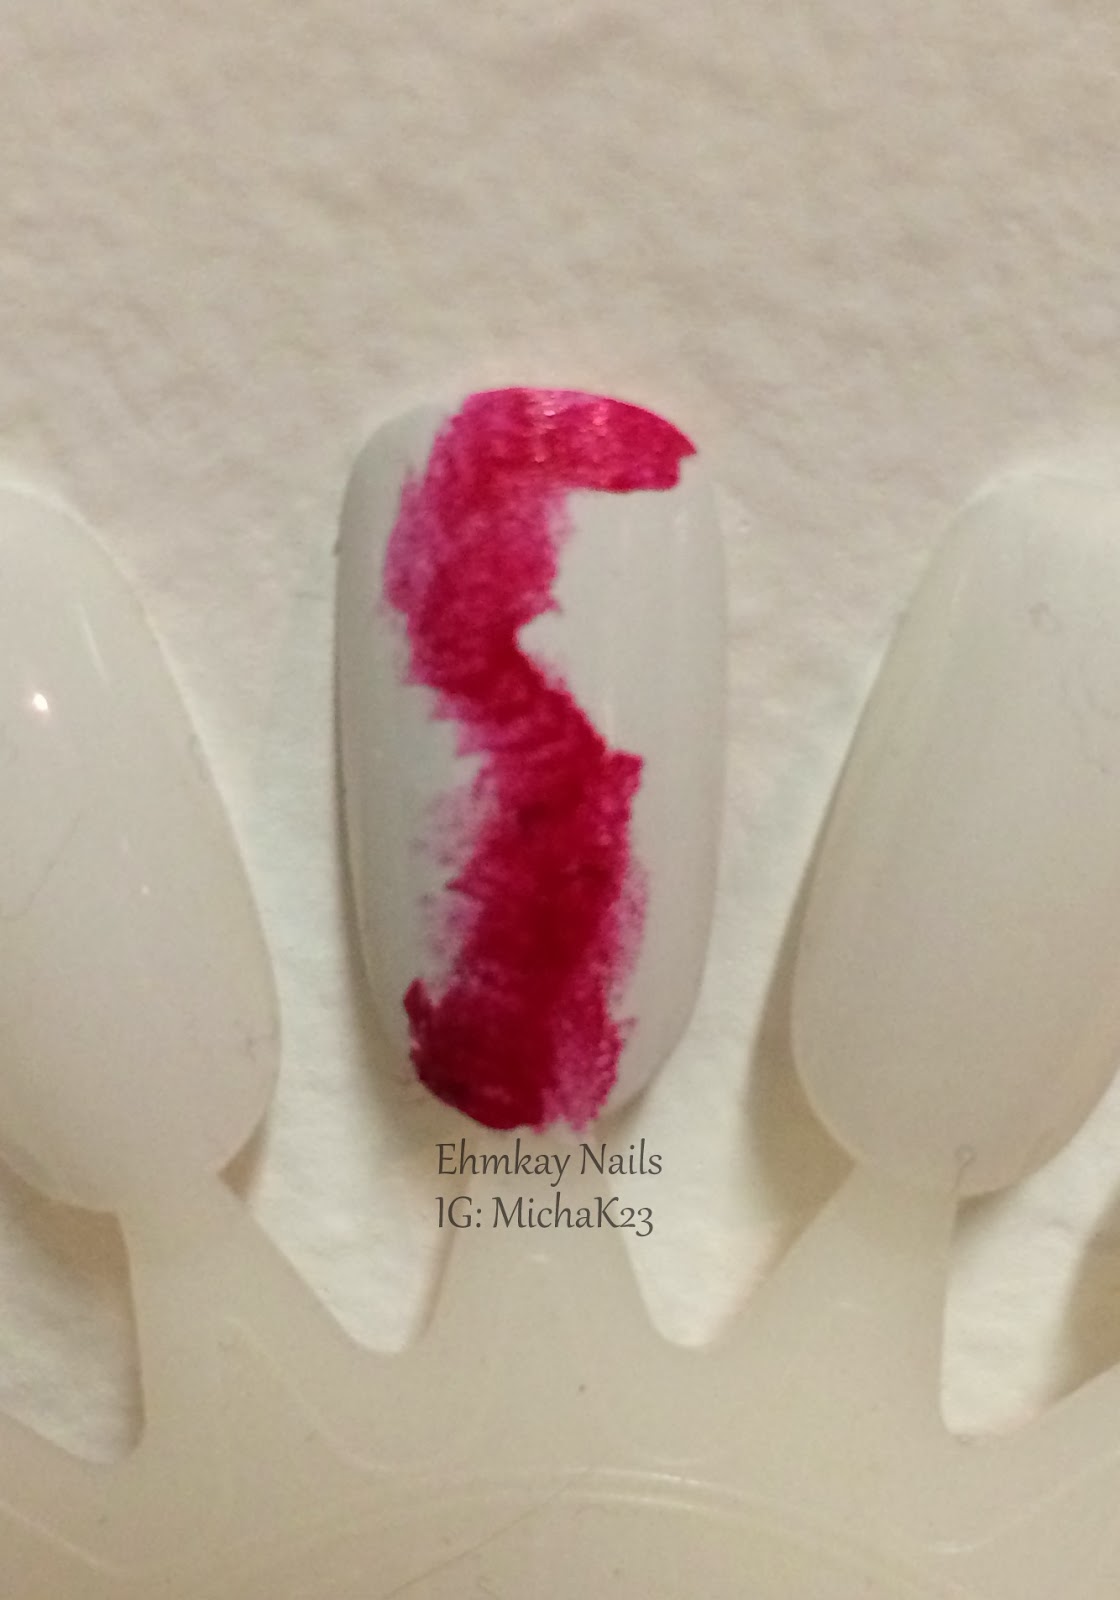
Love Pink Galaxy Nail Art Tutorial


Then using the next darkest color, pink, sponge around your red nebula.
Love Pink Galaxy Nail Art Tutorial


Using a peachy pink, cover up some of the white surrounding your nebula. You are basically filling in the white spots now to add interest. You can do this with a sponge or the brush, See how messy this looks? Just wait.
Love Pink Galaxy Nail Art Tutorial


To add some more texture, I used a glitter in a creme base and a holographic polish in random spots. Allow this to dry for 5 minutes.
Love Pink Galaxy Nail Art Tutorial


Using a sparse microglitter, or with a light hand, use a coat of glitter. Then with your white, add random dots using dotting tools, a bobby pin, or even a toothpick.  Allow to dry for five minutes before smoothing with a thick top coat.
Love Pink Galaxy Nail Art Tutorial


Once you get the hang of it, it moves fast. I usually work with one color at a time, meaning I do all the red steps on each nail, then pink, etc. It allows for the process to go faster. Here's a reminder what mine looked like. See how the nebulas can all be different?


Love Pink Galaxy Nail Art

Please let me know what other tutorials you want--whether it's dotticures, lines, or even something from a long time ago. I'd love any feedback so please leave comments!

Facebook.
Instagram.
Etsy Shop.
Follow my blog with Bloglovin

Friday, February 14, 2014

Valentine's Day featuring Cirque Colors and Red Dog Designs

I've been on pink overload, so I wanted to keep it more simple and subdued for actual Valentine's Day. When I first got Red Dog Designs My Funny Valentine last year (and it's still available HERE), it reminded me of chocolate covered strawberries. Not sure why, but it just did! So I decided I need to loosely create a look of chocolate covered strawberries (I also made some for real for Valentine's Day!).

Cirque Vesuvius and Mink with Red Dog Designs My Funny Valentine
I started with Cirque Colors Vesuvius which is a gorgeous berry red holographic polish. 

Cirque Colors Vesuvius, 2 coats, shade

Cirque Colors Vesuvius, 2 coats, outdoor with flash

Cirque Colors Vesuvius, 2 coats, indoor with flash

After two coats, I dabbed on Cirque Colors Mink, which is a stunning brown holo. I super love how the two work together.
 
Cirque Colors Vesuvius with Cirque Colors Mink on tips, shade

Cirque Colors Vesuvius with Cirque Colors Mink on tips, outdoor with flash
Cirque Colors Vesuvius with Cirque Colors Mink on tips, indoor with flash
Then I added one coat of Red Dog Designs My Funny Valentine. I love this glitter. Red Dog Designs is one of the few indies I actually use multiple times. I don't just use her glitters once and never look at them again. I repeatedly have used her polishes 3-4 times! That's how timeless I think they are. Same goes with Cirque. I am constantly pulling out these two brands. I love that My Funny Valentine has holographic heart, with gold and red circles. It all just works.

Red Dog Designs My Funny Valentine, shade

Red Dog Designs My Funny Valentine, outdoor with flash

Red Dog Designs My Funny Valentine

Red Dog Designs My Funny Valentine, indoor with flash

Red Dog Designs My Funny Valentine, indoor, for holo glitter

Well I truly wish you a lovely Valentine's Day, even though you should love all year round. :)

Facebook.
Instagram.
Etsy Shop.
Follow my blog with Bloglovin

Thursday, February 13, 2014

Valentine's Day Nail Art: Texture Stripes and Kisses

It's the last day before Valentine's Day, and although we are getting over a foot of snow, sometimes indoor Valentine's Day plans are better than crowded restaurants with specialized menus. 

Here's one last bit of nail art before my actual Valentine's Day nails (and actually, the man prefers I don't do nail art, so I'm doing something simpler). You all know I love textures, and I was getting antsy to try some of my new ones. I actually did this design with cremes two years ago and I *think* I saw it on a blog but honestly, cannot remember which one! (You can let me know if you know which blog.) I tried this design with all textures, and well...I didn't love it. Nice idea though! I liked the way the design looked when my nails were down, but I forgot to take a photo that way.

Valentine's Day Nail Art: Texture Stripes and Kisses

Using OPI Solitaire (white), Kiko Watermelon (Bright Pink), Sinful Colors Blush on You (magenta with blue shimmer), Barry M Princess (light pink) and Sally Hansen Treat Heart (mauve-rose), I painted each nail one color. Then alternating colors, I did stripes intentionally making them different widths. I actually just wiped the excess polish off the bottle neck and used the side of the brush.

Then I went in with Kiko Cherry and painted on the lips/kisses. I actually wish I paid more attention with the placement, as you can see it did not show over Sinful Blush on You.


Valentine's Day Nail Art: Texture Stripes and Kisses

Valentine's Day Nail Art: Texture Stripes and Kisses

Valentine's Day Nail Art: Texture Stripes and Kisses
I wanted to show off the sparkle, but the constant snow storms brings clouds and boringness, so here's the sparkle with flash.


Valentine's Day Nail Art: Texture Stripes and Kisses, with flash

What do you think of this art? It's something simple though that you should try! I'll be back tomorrow with my Valentine's Day mani!

Facebook.
Instagram.
Etsy Shop.
Follow my blog with Bloglovin
Wednesday, February 12, 2014

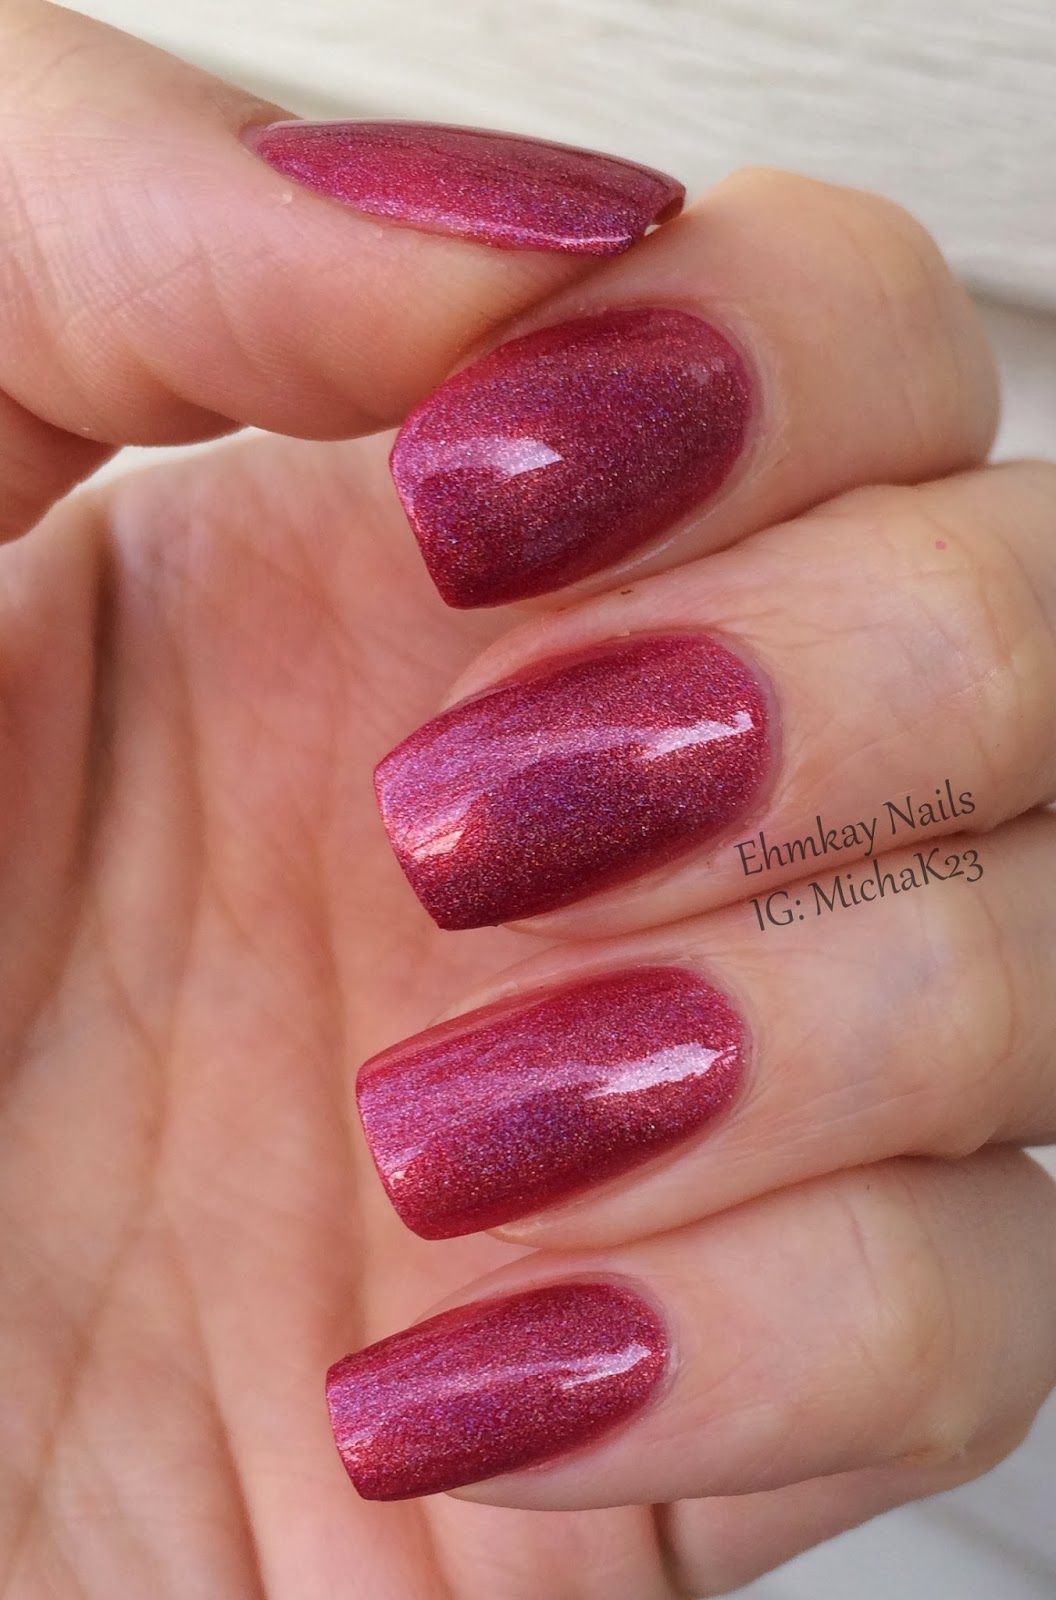
Lynnderella Liquid Valentine

Continuing with Valentine's Day manicures, here's a super bright but lovey color. I've been holding on to Layla Softtouch Neon Pink to use with this glitter for so long and it is perfect. But then I bought Pretty Serious The Pink One during their Black Friday sale, and I wanted to use that base too! 

Although they look similar in the bottle, Neon Pink is actually darker with tones of purple and a darker blue shimmer (it always dries with a soft satin finish). Pretty Serious The Pink One is completely pink with a smaller blue shimmer and shiny. Both polishes were perfectly opaque in two easy coats.

Then I added 1-1.5 coats of Lynnderella Liquid Valentine. I am pretty anal with my glitter distribution looking perfect, so if I missed an area of my nail, or if part of my nail looked empty, I dabbed more on. It's all up to your style. Hearts came out aplenty. Like with all my glitters, I turn the bottle upside about ten minutes before using, so the heavier glitters will be easier to get out. 

Lynnderella Liquid Valentine

Lynnderella Liquid Valentine

Lynnderella Liquid Valentine

Lynnderella Liquid Valentine

Lynnderella Liquid Valentine, full sun (couldn't handle it!)

Here is Layla Softtouch Neon Pink and Pretty Serious The Pink One without the glitter. It's harder to see the difference of the colors outdoors, but it was pretty obvious indoors (second photo).

Layla Softtouch Neon Pink and Pretty Serious The Pink One

Layla Softtouch Neon Pink and Pretty Serious The Pink One

Upon removal, I must warn you, the Layla stained my nails pretty bad (they look kind of orange, I'll spare you that picture). So make sure you double up on base coat. Of course, what stains me, might not stain you! But because I wore the Layla on my two middle nails, the staining is pretty obvious vs.  the other nails with The Pink One.

Do you know what you're wearing for Valentine's Day? I may play with a few combos, but I think I'm going "simple."


Facebook.
Instagram.
Etsy Shop.
Follow my blog with Bloglovin

Sunday, February 9, 2014

Valentine's Day Nail Art: Love Pink Galaxy Nails

Happy Sunday! Are you just as excited for the premiere of Walking Dead tonight? Because I am! And don't forget to enter my giveaway, which is still going on for one more day!

It's difficult to come up with "original" nail art these days. But I googled the hell out of this idea, and couldn't find anything.  I love doing galaxy nails. They are super easy and you can mix them up. I've seen some cool pastel versions. This time, I did a Valentine's Day edition galaxy nail, featuring a spectrum of pinks and reds.


Valentine's Day Love Pink Galaxy Nails

Whereas you usually paint your nails a dark color and begin with white for galaxy nails, I did the opposite. I began with two coats of OPI My Boyfriend Scales Wall and used the darkest color first, red. Then I just sponged all around in my color scheme. After sponging, I added dots and stars, along with OPI Piourette My Whistle for some glitter.

Colors used: Sheswai Honeyfox (red), Sheswai Babe (hot pink), Elevation Polish Mount Augustus, Essence Very Berry, China Glaze Tickle My Triange, OPI Piourette My Whistle.

See the red part? That's what you do first, then work out with your colors. 

Valentine's Day Love Pink Galaxy Nails, shade

Valentine's Day Love Pink Galaxy Nails, shade

Valentine's Day Love Pink Galaxy Nails, direct sun

Valentine's Day Love Pink Galaxy Nails, direct sun

Valentine's Day Love Pink Galaxy Nails, indirect sun

I have noticed on my giveaway post, people have been commenting for nail art tutorials. Is this one you would like a tutorial for? Let me know!


Facebook.
Instagram.
Etsy Shop.
Follow my blog with Bloglovin